Model a car in Maya with T-Splines
1. Start with high quality blueprints.
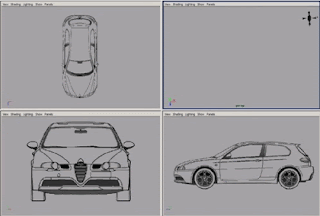
2. We have to cut off our blueprint for 4 separately pictures with the same size at W and H.
The side, front, back and top views.
3. I usually use an alpha mask in my blueprints because sometimes you have to change the
background color in Maya.
4. Launch Maya and create a new project. After that you can import your blueprints as image
planes. In the front view there will be 2 image planes: the front and the back view. I created
a marking menu for turning on and off image planes; I recommend that you do this as well.
It will speed up your workflow.
5. We can start our modeling with few NURBS curves. That’s the simplest way for modeling
a car. After we created our curves we can build our first surfaces. We always have to
rebuild our curves and surfaces because those curves and surfaces which aren’t rebuilt can
can complicated our work later.
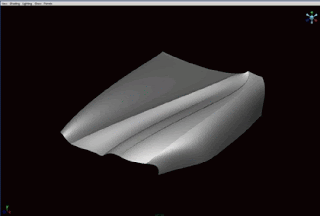
6. We can use Birail+ tool for creating the surfaces. Don’t forget to rebuild them. You may
want to put that action in your marking menu or into the shelf.
7. We start modeling the front fender with curves. From all views we have to match our
curves to the image planes and after that build a surface with the loft tool. Then convert the
2 surfaces to the polygons because we' re going to merge them.
8. We continue creating curves and building surfaces of the front part of our car.
9. Create the roof curves and surfaces also.


No comments:
Post a Comment